Entropia Universe avatar creation
| |||
Latest Forum Threads
Find more in the Tutorials, Guides and Help forum section! |
This guide is illustrating the avatar creation process in Entropia Universe.
Most important: Take your time when creating your avatar. Once you have finished and left avatar creation mode you quite likely will not be able to change the visual appearance of your avatar without spending money.
Please also note: The clothes in the avatar creation mode are just showcases, you will arrive in Entropia Universe with very basic clothes depending on the planet you choose to start on.
The best overview is probably to get from this official video (more videos in the media section further below):
Avatar creation[edit]
The avatar creation process itself is pretty self-explanatory. Once started you can choose from a number of male or female avatar appearance presets (see further below: Avatar appearance presets) and a number of male and female hairstyles as well as male beard styles (see further below: Avatar hairstyles and beardstyles.
[edit]
There are several menus and submenus for manipulating the avatar's body, face, hair and colors:

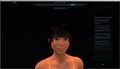
"Face" menu and submenus
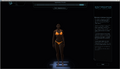
"Body" menu and submenus

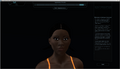
"Colors" menu and submenus
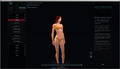
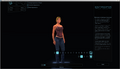
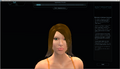
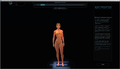
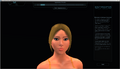
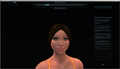
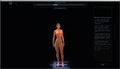
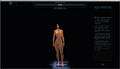
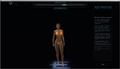
Clothes and make-up previews[edit]
There's are previews available to visualize the avatar's appearance with a potential set of armor, clothes and make-up. PLEASE NOTE: These are just visualizing previews, you will not get the items or make-up mask you can see there!
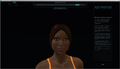
Female clothes preview 01

Female clothes preview 02
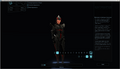
Female clothes preview 03

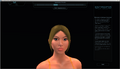
Female makeup preview, one of 12 options
Finishing avatar creation[edit]
Before finishing the avatar creation process make sure you are satified with your avatar. Once you've finished your avatar creation process you will quite likely not be able to change the visual appearance of your avatar without spending money. Avatar customization is a common service other players offer for money.
The appearance of your avatar in game might not match what it looked like in the avatar creation area. If you think the differences are too big you might want to File a support case.
You might want to introduce your avatar in this thread: http://www.entropiaplanets.com/threads/entropia-universe-avatars-post-vu14.9088/
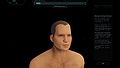
Avatar appearance presets[edit]
There is a set of avatar appearance preset available from which you can choose.
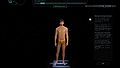
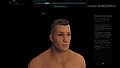
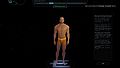
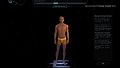
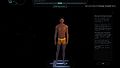
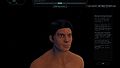
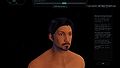
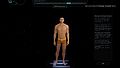
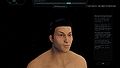
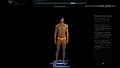
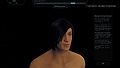
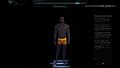
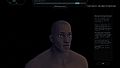
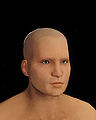
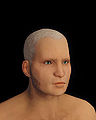
Male[edit]
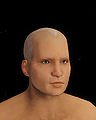
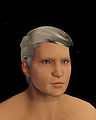
Male avatar appearance presets.

Male preset 01 Body
Male preset 01 Head
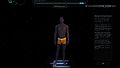
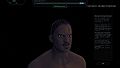
Male preset 02 Body

Male preset 02 Head

Male preset 03 Body
Male preset 03 Head
Male preset 04 Body

Male preset 04 Head
Male preset 05 Body
Male preset 05 Head
Male preset 06 Body
Male preset 06 Head

Male preset 07 Body
Male preset 07 Head
Male preset 08 Body
Male preset 08 Head
Male preset 09 Body
Male preset 09 Head
Male preset 10 Body
Male preset 10 Head
Male preset 11 Body
Male preset 11 Head


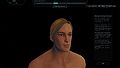
Female[edit]
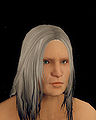
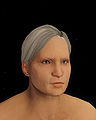
Female avatar appearance presets.

Female preset 01 Body
Female preset 01 Head
Female preset 02 Body
Female preset 02 Head

Female preset 03 Body
Female preset 03 Head

Female preset 04 Body

Female preset 04 Head
Female preset 05 Body
Female preset 05 Head
Female preset 06 Body

Female preset 06 Head
Female preset 07 Body

Female preset 07 Head

Female preset 08 Body

Female preset 08 Head

Female preset 09 Body
Female preset 09 Head

Female preset 10 Body
Female preset 10 Head
Female preset 11 Body
Female preset 11 Head
Avatar hairstyles and beardstyles[edit]
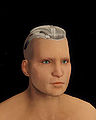
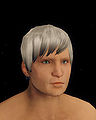
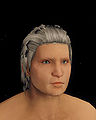
Male hairstyles[edit]
Available male hairstyles.
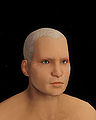
Male hairstyle 01

Male hairstyle 02

Male hairstyle 03
Male hairstyle 04

Male hairstyle 05
Male hairstyle 06

Male hairstyle 07
Male hairstyle 08
Male hairstyle 09
Male hairstyle 10
Male hairstyle 11

Male hairstyle 12

Male hairstyle 13
Male hairstyle 14
Male hairstyle 15
Male hairstyle 16
Male hairstyle 17
Male hairstyle 18


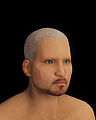
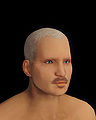
Male beardstyles[edit]
Available male beardstyles.
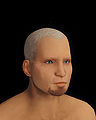
Beard Style 01
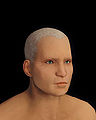
Beard Style 02

Beard Style 03
Beard Style 04
Beard Style 05
Beard Style 06


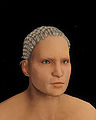
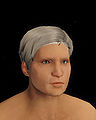
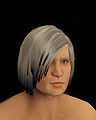
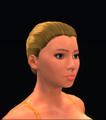
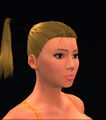
Female hairstyles[edit]
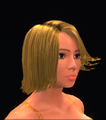
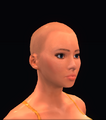
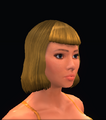
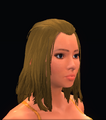
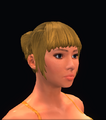
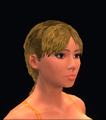
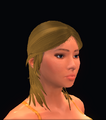
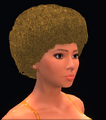
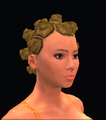
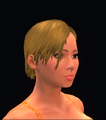
Available female hairstyles.
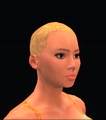
Female hairstyle 01
Female hairstyle 02

Female hairstyle 03

Female hairstyle 04
Female hairstyle 05

Female hairstyle 06

Female hairstyle 07
Female hairstyle 08
Female hairstyle 09

Female hairstyle 10

Female hairstyle 11

Female hairstyle 12
Female hairstyle 13

Female hairstyle 14

Female hairstyle 15
Female hairstyle 16

Female hairstyle 17

Female hairstyle 18

Female hairstyle 19

Female hairstyle 20

Female hairstyle 21
Female hairstyle 22
Female hairstyle 23
Female hairstyle 24

Female hairstyle 25

Female hairstyle 26
Female hairstyle 27
Female hairstyle 28

Female hairstyle 29

Female hairstyle 30
Female hairstyle 31

Female hairstyle 32

Female hairstyle 33

Female hairstyle 34


Avatar appearance history[edit]


Media[edit]
Videos[edit]
Avatar Creation video by Luri Nightshade:
Avatar Creation video by PigBenisHateraid:
Links, references, contributors, categories[edit]
- Thread: New avatar system info n faq
- Thread: EU Avatar Before n After Contest
- Thread: MindArk introduces dramatically new avatar system
- Thread: New Avatar Creation System scheduled for 22 January 2013
- Thread: The infamous avatar update....
Contributors:
|